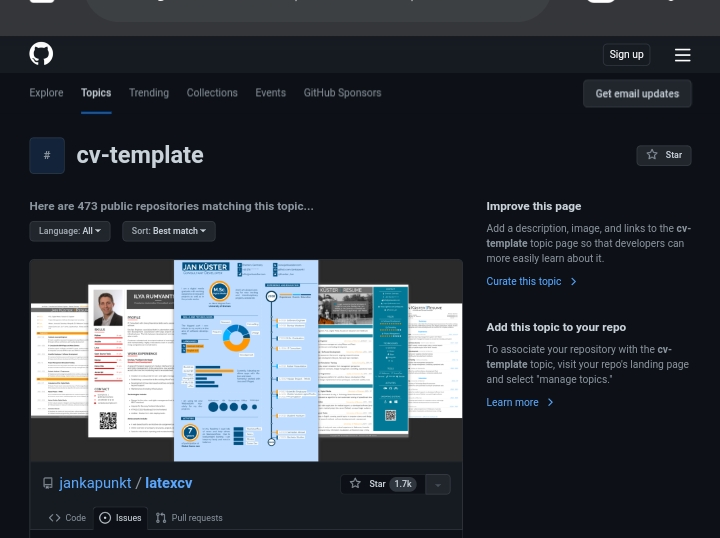
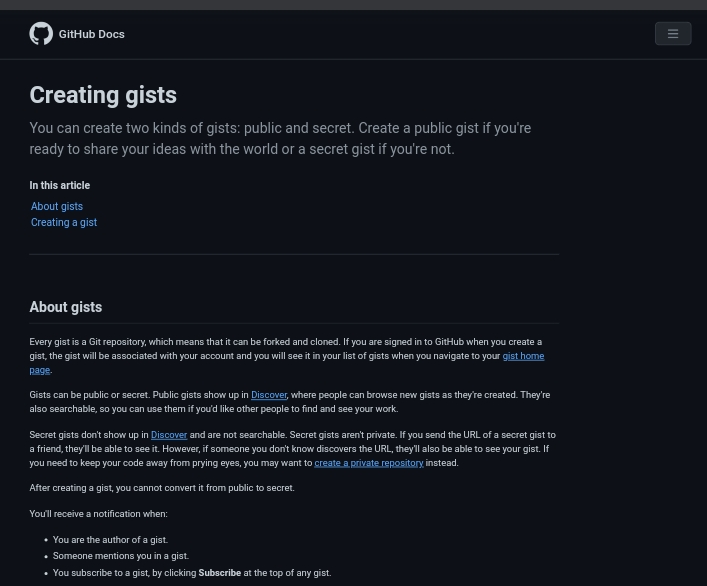
How to create a markdown resume on github gist: Many people use GitHub Gist to create code snippets and even full-blown projects, but did you know that it’s also great for creating and maintaining your resume?

You can create a professional-looking CV in just minutes, allowing recruiters to easily view all of your skills and experience in one place.
Here’s how to create a markdown resume on GitHub Gist
Step 1. Clone the repository
Clone the repository from your web browser by clicking the green Clone or download button, then selecting Download ZIP.
Click the Download ZIP link at the bottom of the pop-up box, and unzip it. You can also navigate to where you want your resume in Windows Explorer (or Finder on Mac) and drag & drop the folder there.
The files within should be in your Downloads folder or wherever you want them. Clone means you’re making a copy of someone else’s repository.
You can do that by clicking the Clone or download button at Github, then selecting Download ZIP.
The process of cloning a repository means you’re making a copy of someone else’s repository.
This is what you want to do if you want to make changes and contribute them back to someone else’s project (like open source software).
If you just want your own copy for yourself, skip ahead to Step 2.
Step 2. Update your personal information
If you want your resume to be taken seriously, you need to ensure that it’s professional and error-free.

- Start by updating your personal information, contact information, current job title, etc.
- Maintain a neat and consistent layout throughout*
- Don’t forget to update your work experience*
- Make sure everything is in order*
- Use clear language, without jargon or slang.
Now that you have an idea of what you need to include in your resume, it’s time to get started.
It’s a good idea to start with your personal information first because it has universal formatting requirements.
After reading the guidelines above, fill in all the appropriate fields.
Don’t forget to also provide a summary at top of your gist as well as information about any online presence or social media account associated with you.
Update your Github profile too by adding your resume markdown file under repository settings so other can find and download it easily.
Step 3. Formatting your education
Make sure your education is formatted correctly. Since we’re using markdown, your formatting is a little different than just adding in HTML tags or even inserting images like you might do with Microsoft Word.

There are two main ways to format your education: vertical and horizontal. Which way you choose depends on what looks better visually, but both will work.
Vertical Formatting Horizontal Formatting
For example, let’s say I wanted to format my bachelor’s degree as below:
Bachelor of Science in Computer Science from University of California at Berkeley. If you want your education section to look like mine, then you’ll want to put all your education info in a markdown list.
Vertical Formatting is used when you have two or more lines for each degree/certification that looks better than one long line. This also allows for adding additional details such as GPA or start and end dates.
Horizontal Formatting: If you’re using horizontal formatting, you’ll just want to put each education line directly under each other. You can still add in additional details such as GPA or start and end dates.
The best way to format your education is based on how it looks visually, so choose whichever method works best for you. But if you are unsure which one will look better, try both out.
Step 4. Formatting your skills
Since your skill set is in a markdown document, you’ll want it formatted so that it works properly.
In general, you want each section header followed by a tab or two of space (indenting) and then one or more lines of code inside curly braces .
The below template should work as-is with most repositories. {skill} {git_repo_url} {github_username}/{repository_name}.md You’ll want to replace {skill} with your skill, {git_repo_url} with a link to your git repository, and {github_username}/{repository_name}.md with a link to your markdown file.
And then lastly, paste that code into your resume.md file, and you’re good to go.
Conclusion
Overall, GitHub Gist is a really cool tool to create Markdown resumes for free.
It’s simple to use and has nice features like auto-complete, live previewing and free hosting.
I hope you found my tutorial helpful, now go create your own resume.


